We understand that preparing for surgery may cause you some concern or anxiety. Our goal is to make your experience a positive one and to provide you with the best care possible. Here are tips and techniques to prepare yourself for a smooth recovery following surgery.
Practice putting on your sling as well as completing daily tasks with your sling on.
Practice putting on your compression stockings
Consider obtaining toileting aid to assist with toileting tasks & practice toilet hygiene if your surgical arm is your dominant side.
Practice applying clothes by putting affected arm in first for shirts/jackets (use the dangle technique)
Have options for easy to remove clothing, tops and bottoms.
Complete as many chores as possible.
Remove throw rugs and any other tripping hazards.
Use smaller food/beverage containers.
Set up rides for your appointments to the doctor and therapy (expect 4 weeks)
Try to have someone available to stay with you for the first few days to help as needed.
As you pack for surgery, please bring your driver’s license (or photo ID), insurance card, SLING, and clothing that is loose enough to allow for swelling and a bulky dressing. Often time button up or zip up shirts work the best. To be safe, please do not bring jewelry, other valuables, or large amounts of cash.
After Surgery
COMPRESSION STOCKINGS: You have been provided a pair of compression stockings that will be applied to your legs at the time of surgery. The compression stockings are applied to prevent blood clots. You will need to keep the compression stockings on full time (night and day) for a total of 2 weeks following the surgery. The compression stockings can be removed for showering. Do not attempt to apply/remove stockings without assistance.
Steps for Application:
Bunch up the stocking to make it easier for application.
Grasp each side of the (bunched) stocking and gently slide the stocking over the foot until the heel pocket is centered over the heel. *It may be helpful to place the plastic bag the stockings came in over the foot for smoother application.
Once the heel pocket is centered, gradually pull the stocking up the leg. Be careful not to catch your fingernails on the material.
Ensure there are no folds or wrinkles in the stocking. This can be done by gently pulling upwards smoothing over the leg. Please do not fold the top of the stocking over. The top should be positioned just below the bend in the knee.
To remove the stocking, turn the material “inside out” and gently pull down to the ankle. Insert a finger or two on either side of the material and continue to gently pull over the ankle and off the foot.
Watch this video to learn how to put on your Compression Stockings.
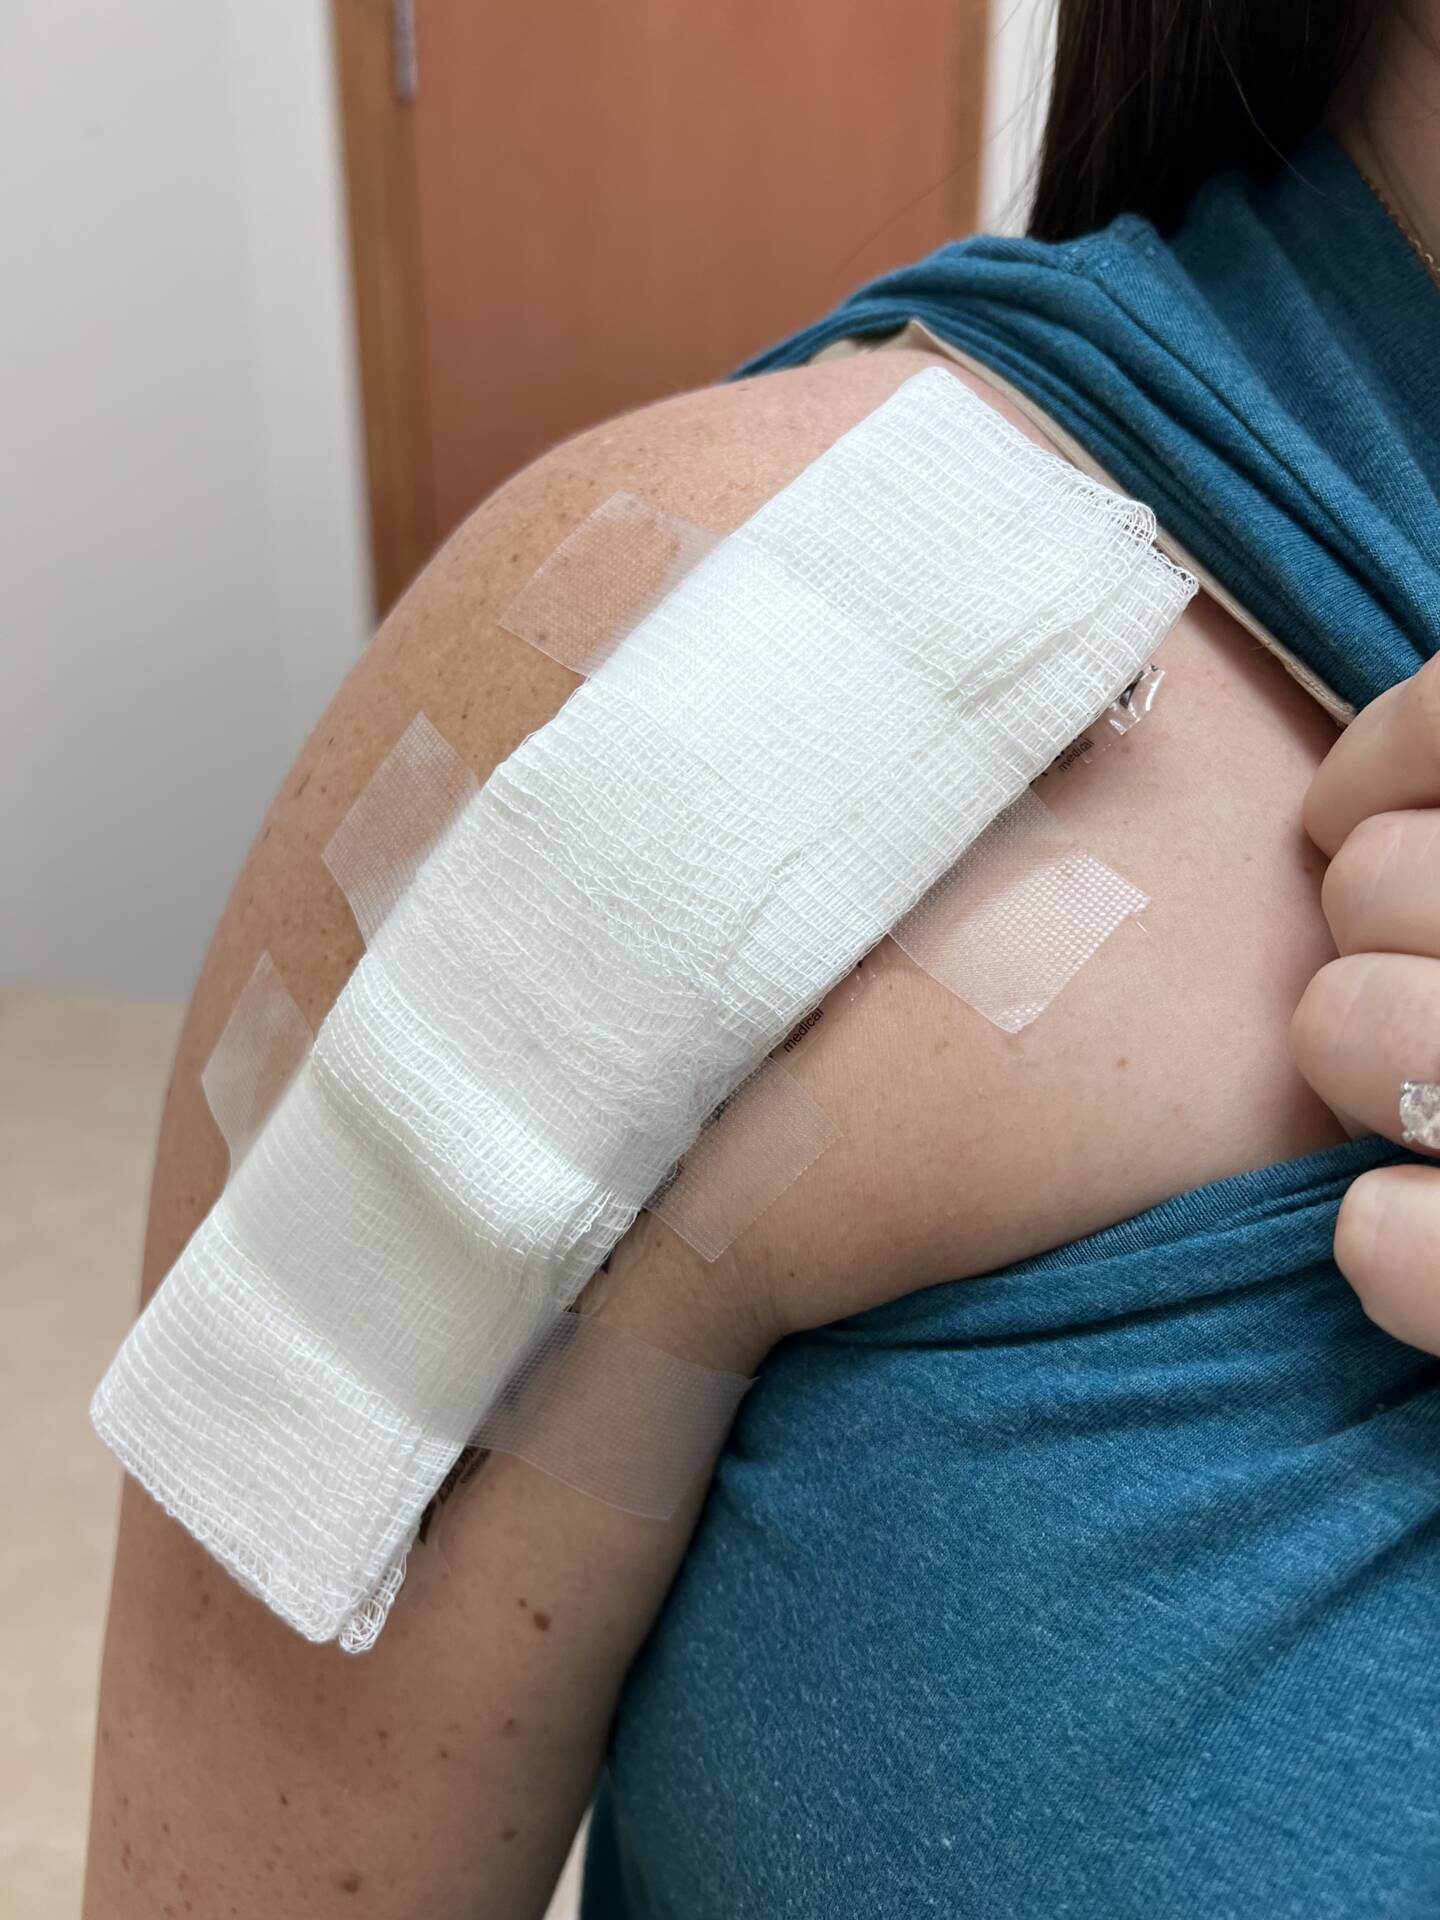
Wound Management
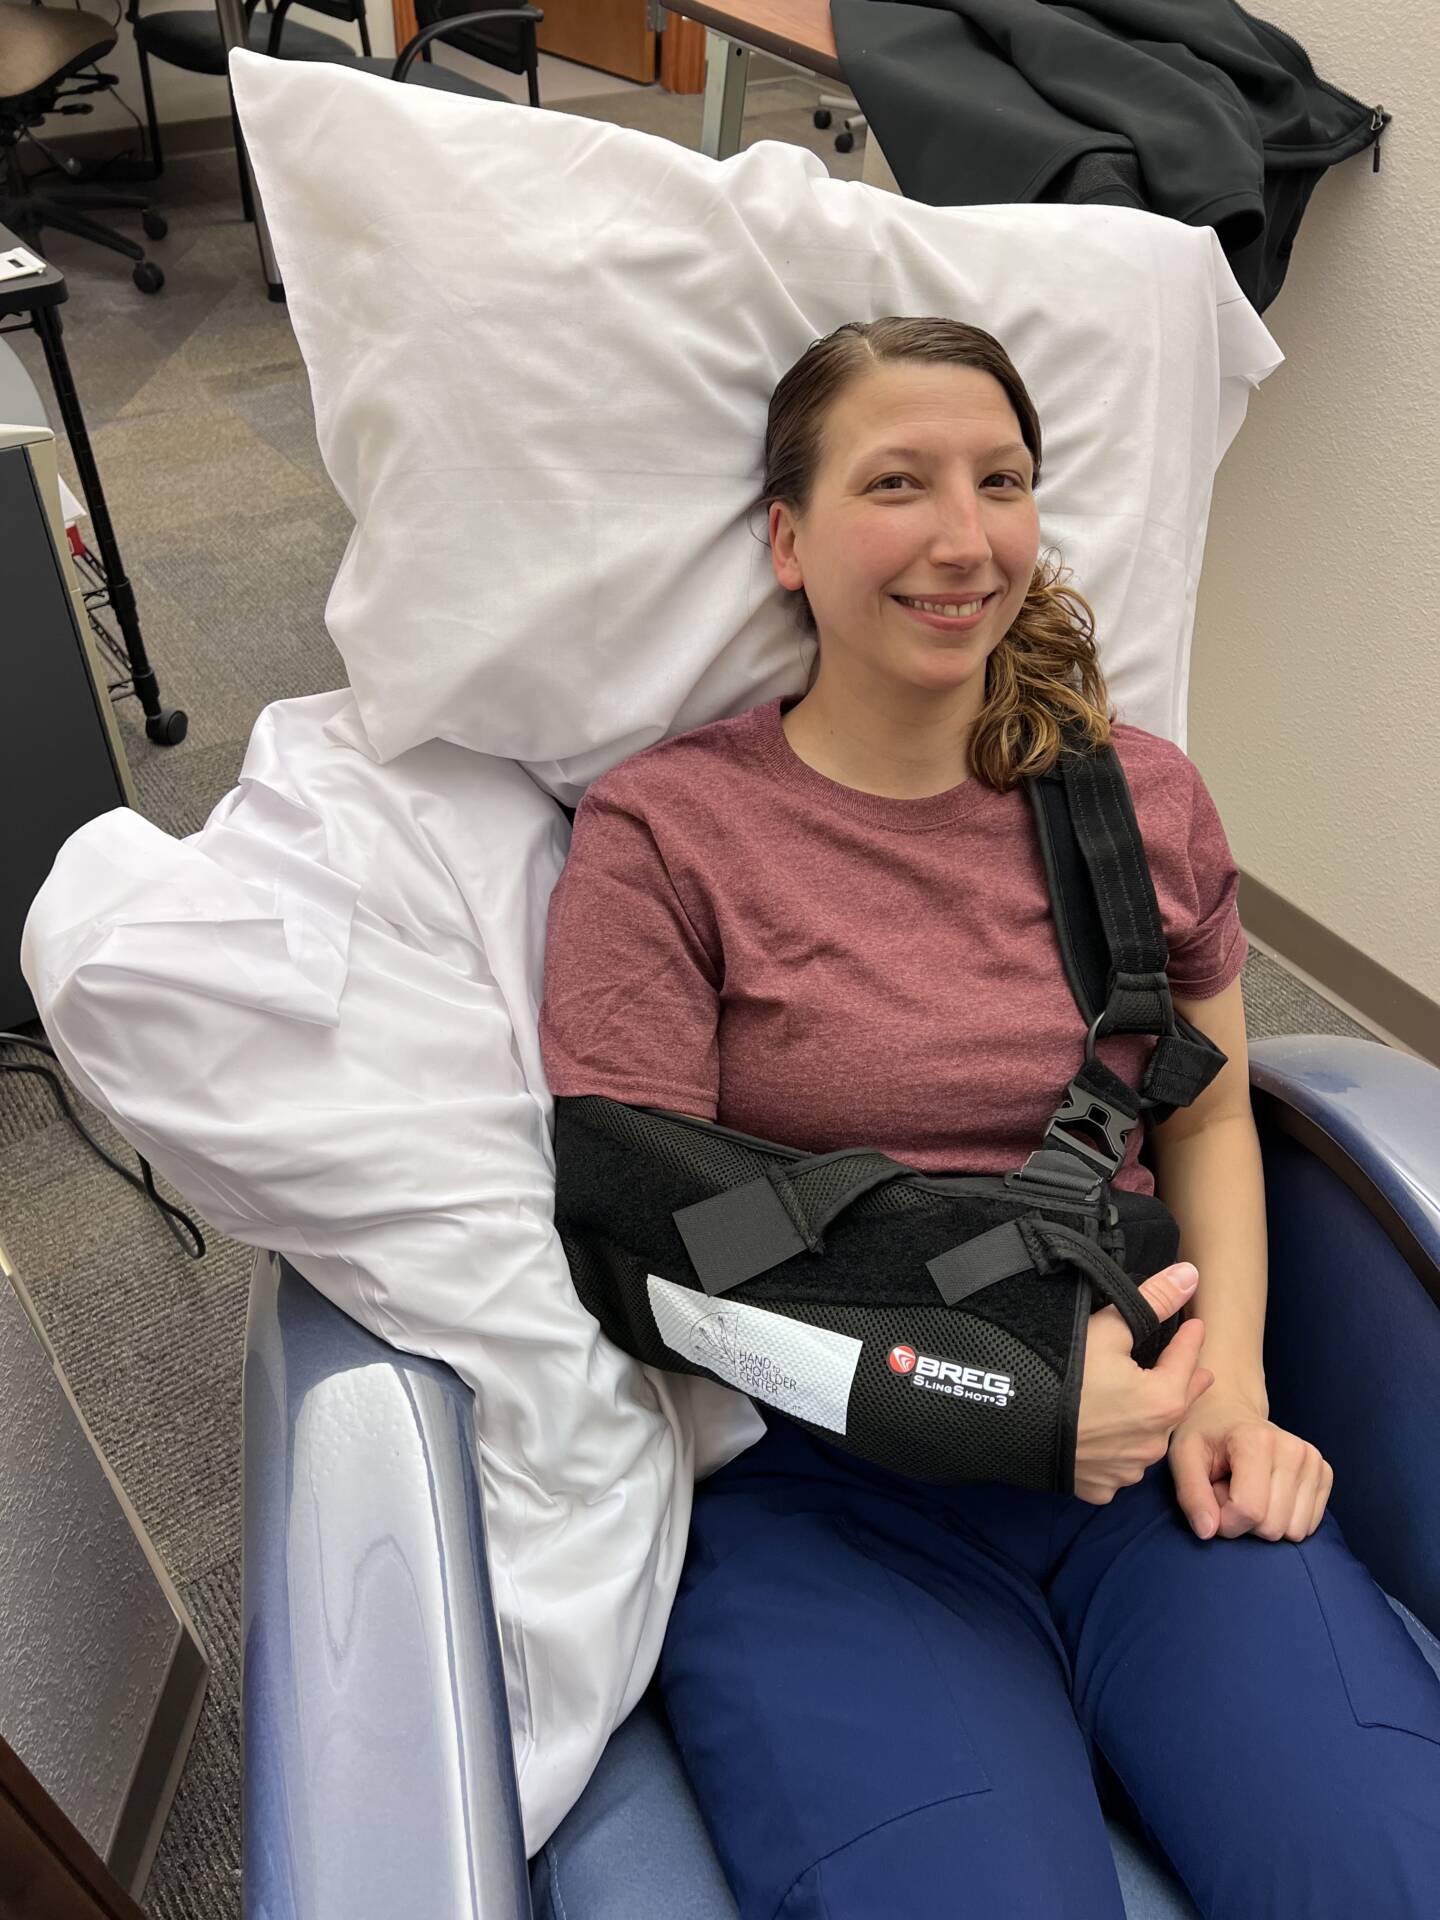
Sling Position
Breg Sling Application:
Place your sling on a flat surface, such as a countertop, with the pillow supporting the material in an “upright” position.
Ensure that the belt strap and “backpack” strap are on the same surface.
Gently place your affected arm in the material of the sling. Do NOT bear weight through the affected extremity in the process.
Grab the “backpack” strap and maneuver onto your unaffected arm. Buckle the strap into place. You may use your affected hand to assist with the buckle.
Next reach for the belt strap and bring it around the back to the clip attached on the front of the pillow. Again, you may use your affected hand to assist with the buckle.
Place the two small Velcro straps in place.
Watch this video to learn how to put on your Breg sling.
Front
Side
Back
Sleeping Position
Sleeping positions can be difficult after surgery, especially wearing the sling. It is recommended to sleep in a reclined chair the first few nights and transition to lying flat. Here are examples of pillow placement for both positions.
Reclined Breg
Lying Flat breg
Post Operative Exercises
Please refer to the handouts you received at shoulder class. Included is an access code to Medbridge which will give you access to videos on how to complete each exercise appropriately!
Additional questions? Please feel free to call and ask for the therapy department. They will direct you to the therapist that led your shoulder class.
Shoulder Replacement Resources
Meet the Doctor
Before Surgery
We understand that preparing for surgery may cause you some concern or anxiety. Our goal is to make your experience a positive one and to provide you with the best care possible. Here are tips and techniques to prepare yourself for a smooth recovery following surgery.
Practice putting on your sling as well as completing daily tasks with your sling on.
Consider obtaining toileting aid to assist with toileting tasks & practice toilet hygiene if your surgical arm is your dominant side.
Practice applying clothes by putting affected arm in first for shirts/jackets (use the dangle technique)
Have options for easy to remove clothing, tops and bottoms.
Complete as many chores as possible.
Remove throw rugs and any other tripping hazards.
Use smaller food/beverage containers.
Set up rides for your appointments to the doctor and therapy (expect 4 weeks)
Try to have someone available to stay with you for the first few days to help as needed.
As you pack for surgery, please bring your driver’s license (or photo ID), insurance card, SLING, and clothing that is loose enough to allow for swelling and a bulky dressing. Often time button up or zip up shirts work the best. To be safe, please do not bring jewelry, other valuables, or large amounts of cash.
Wound Management
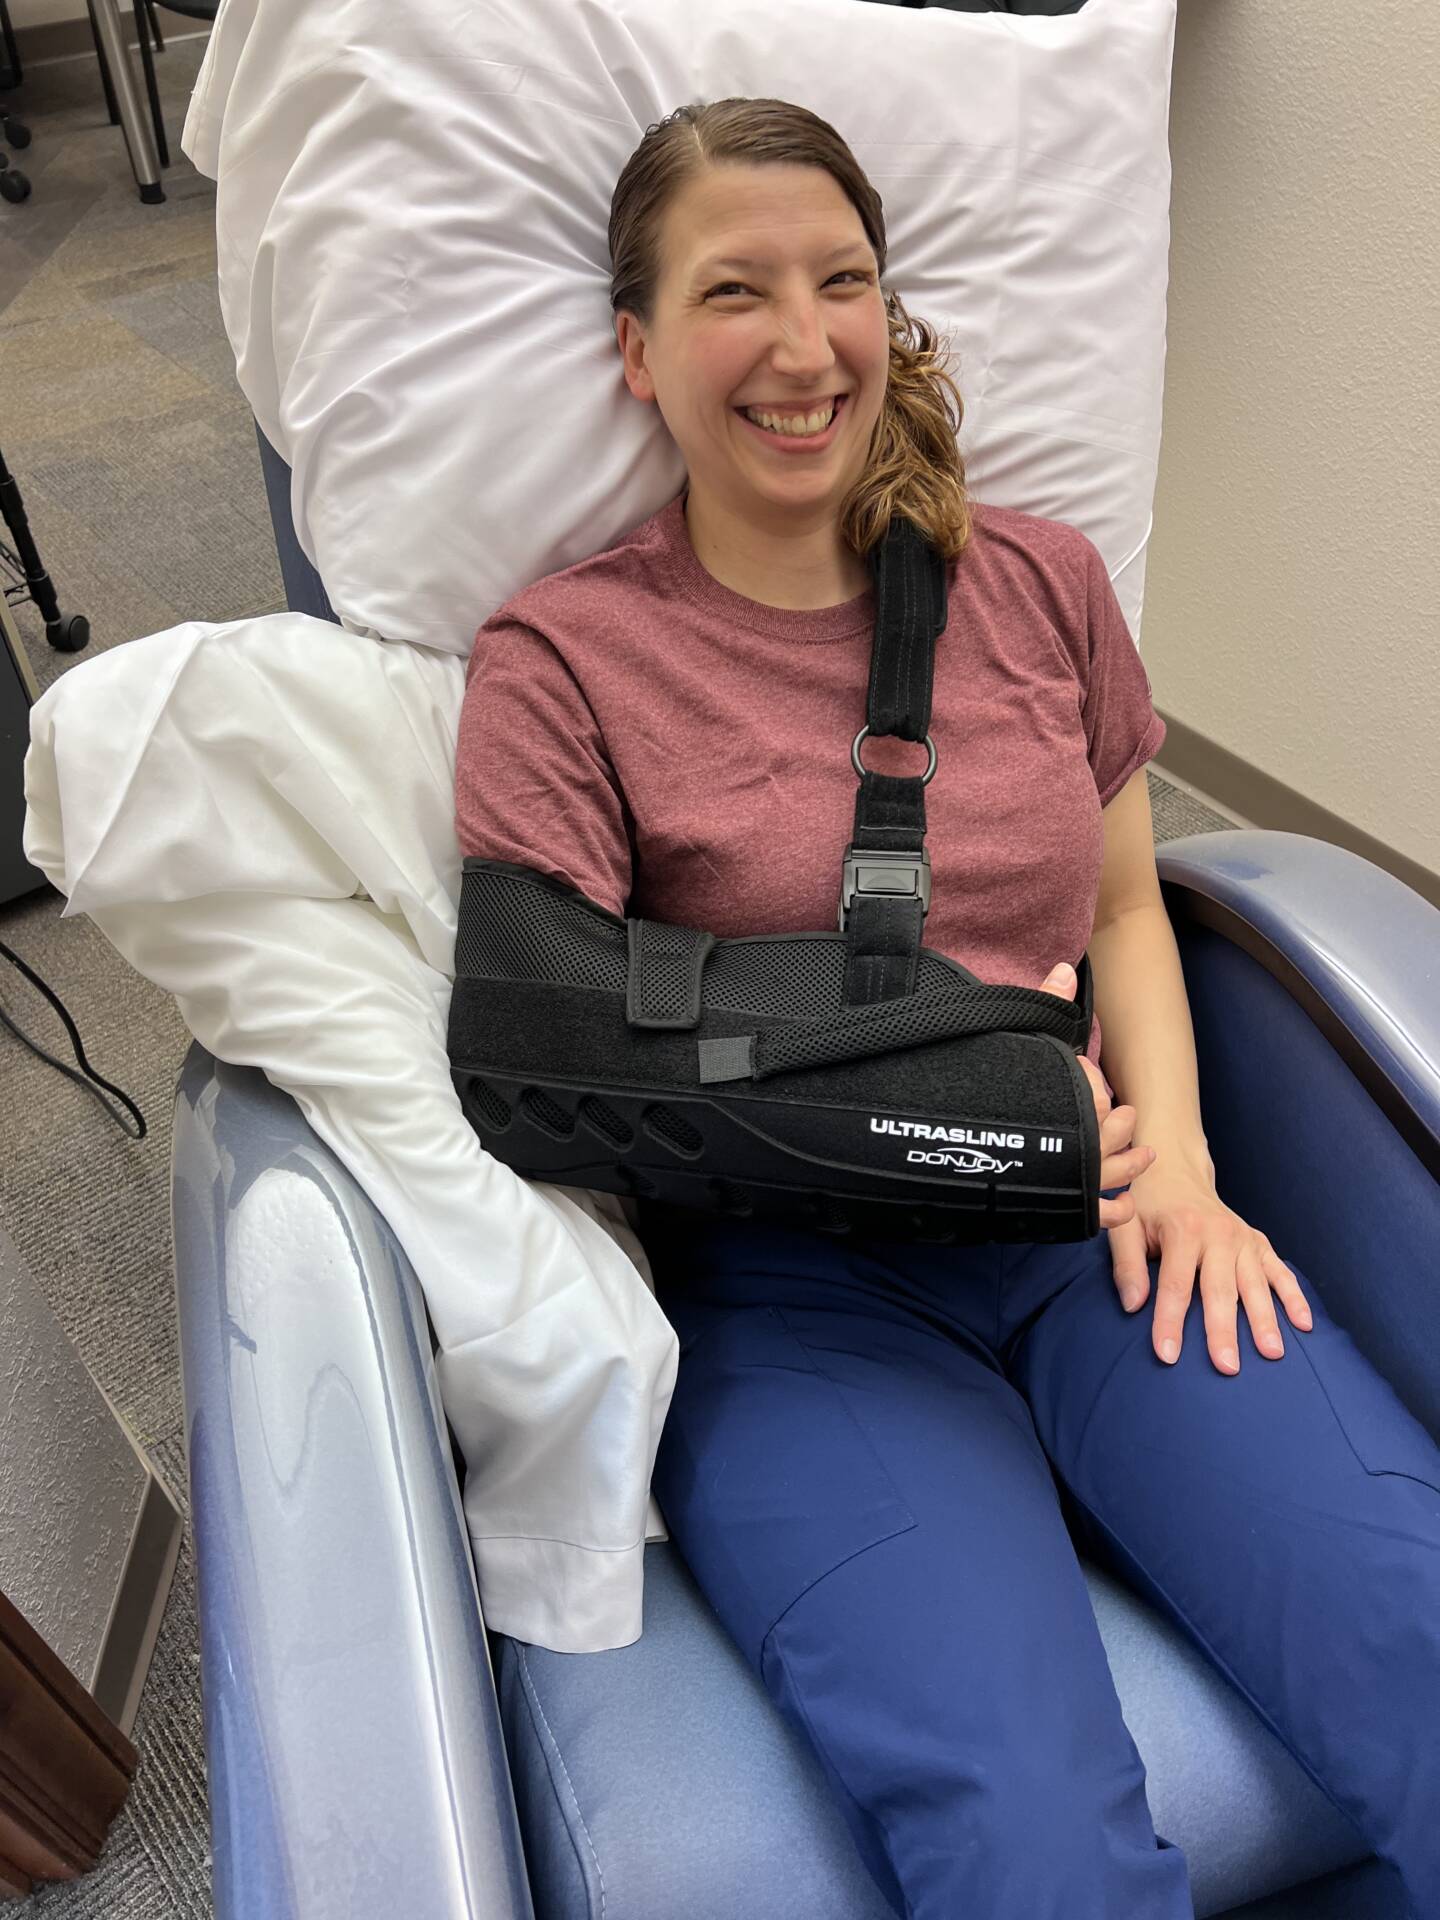
Sling Position
Ultrasling Application:
Place your sling on a flat surface, such as a countertop, with the pillow supporting the material in an “upright” position.
Ensure that the belt strap and shoulder strap are on the same surface.
Gently place your affected arm in the material of the sling. DO NOT bear weight through the affected arm in the process.
Grab the shoulder strap and pull it around your back and over your shoulder. Buckle the straps (there are two) into place. You may use your affected arm to assist with the buckles.
Reach for the belt strap and bring it around your back and attach it on the front of the pillow. Again, you may use your affected hand to assist with the buckle.
Place the two small Velcro straps in place (on the top of the sling near the pillow & in the front by your thumb).
Watch this video to learn how to put on your Ultrasling.
Front
Side
Back
Sleeping Position
Sleeping positions can be difficult after surgery, especially wearing the sling. It is recommended to sleep in a reclined chair the first few nights and transition to lying flat. Here are examples of pillow placement for both positions.
Reclined US
Flat US
Post Operative Exercises
Please refer to the handouts you received at shoulder class. Included is an access code to Medbridge which will give you access to videos on how to complete each exercise appropriately!
Additional questions? Please feel free to call and ask for the therapy department. They will direct you to the therapist that led your shoulder class.
Shoulder Replacement Resources
Meet the Doctor
Before Surgery
We understand that preparing for surgery may cause you some concern or anxiety. Our goal is to make your experience a positive one and to provide you with the best care possible. Here are tips and techniques to prepare yourself for a smooth recovery following surgery.
Practice putting on your sling as well as completing daily tasks with your sling on.
Consider obtaining toileting aid to assist with toileting tasks & practice toilet hygiene if your surgical arm is your dominant side.
Practice applying clothes by putting affected arm in first for shirts/jackets (use the dangle technique)
Have options for easy to remove clothing, tops and bottoms.
Complete as many chores as possible.
Remove throw rugs and any other tripping hazards.
Use smaller food/beverage containers.
Set up rides for your appointments to the doctor and therapy (expect 4 weeks)
Try to have someone available to stay with you for the first few days to help as needed.
As you pack for surgery, please bring your driver’s license (or photo ID), insurance card, SLING, and clothing that is loose enough to allow for swelling and a bulky dressing. Often time button up or zip up shirts work the best. To be safe, please do not bring jewelry, other valuables, or large amounts of cash.
Wound Management
Sling Position
Ultrasling Application:
Place your sling on a flat surface, such as a countertop, with the pillow supporting the material in an “upright” position.
Ensure that the belt strap and shoulder strap are on the same surface.
Gently place your affected arm in the material of the sling. DO NOT bear weight through the affected arm in the process.
Grab the shoulder strap and pull it around your back and over your shoulder. Buckle the straps (there are two) into place. You may use your affected arm to assist with the buckles.
Reach for the belt strap and bring it around your back and attach it on the front of the pillow. Again, you may use your affected hand to assist with the buckle.
Place the two small Velcro straps in place (on the top of the sling near the pillow & in the front by your thumb).
Watch this video to learn how to put on your Ultrasling.
Front
Side
Back
Sleeping Position
Sleeping positions can be difficult after surgery, especially wearing the sling. It is recommended to sleep in a reclined chair the first few nights and transition to lying flat. Here are examples of pillow placement for both positions.
Reclined US
Flat US
Post Operative Exercises
Please refer to the handouts you received at shoulder class. Included is an access code to Medbridge which will give you access to videos on how to complete each exercise appropriately!
Additional questions? Please feel free to call and ask for the therapy department. They will direct you to the therapist that led your shoulder class.